|
I did a rebinding project for a private client, and thought I would
share a little of the process (with the permission of the client).
This is not intended to be a formal instruction of the process, and my
descriptions use common terms rather than more accurate technical terms.
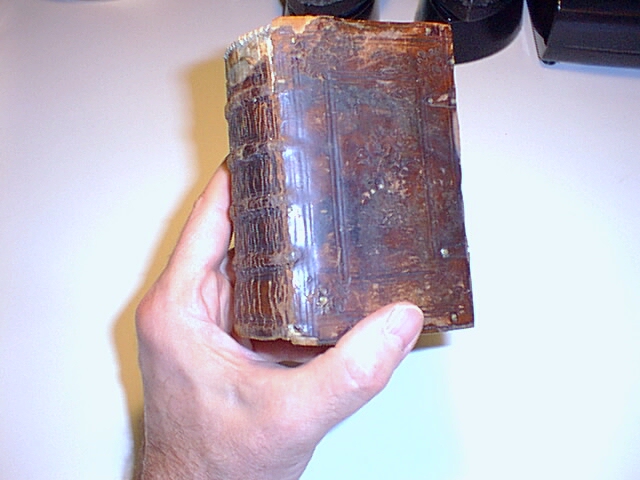
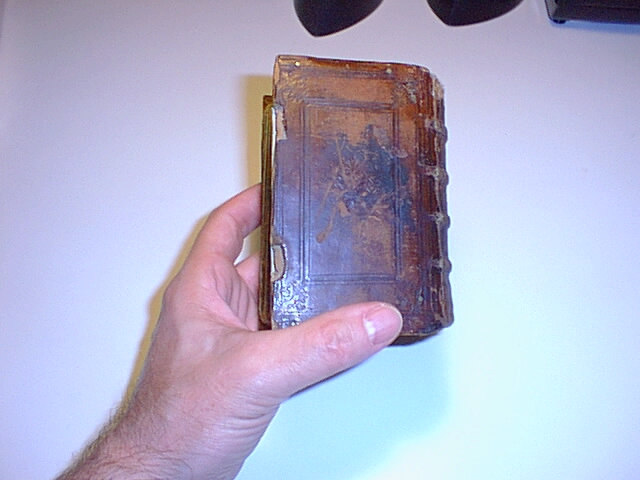
The book was dated 1568, and was in its original binding. Overall
size was about 5" x 3" x 2". The sewing structure of the book was
breaking down, the covers were badly worn, the pages rubbed but in good
condition overall. In discussion with the client, he elected to
have a new cover of full calf with blind tooling similar to the tooling
on the original cover. I also resewed the book in the late medieval
style, onto double cords which were later laced into the new boards for
the cover.
Here is a brief series of images and descriptions from the project (click
on each photo for a larger version):
|
 |
 |
 |
 |
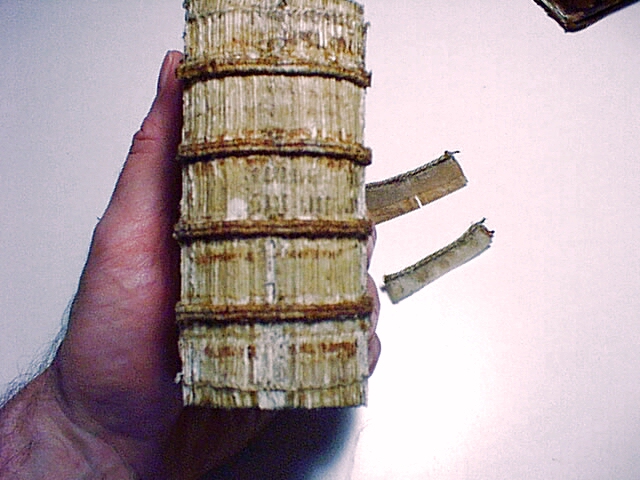
| Documentation of the state of the book before
conservation work done. |
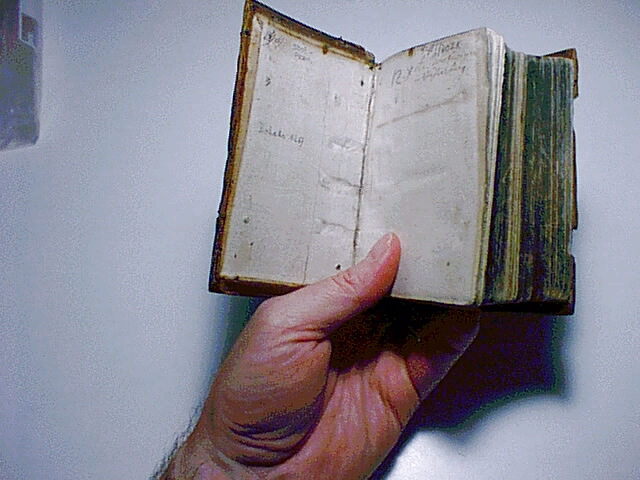
Removal of the spine leather. Covers have been
detached. |
 |
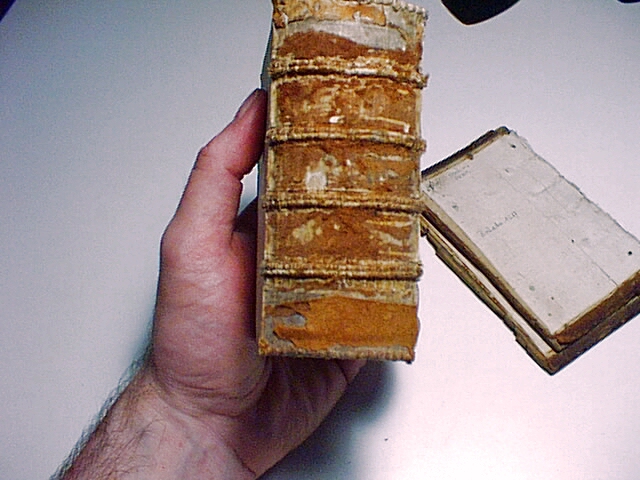
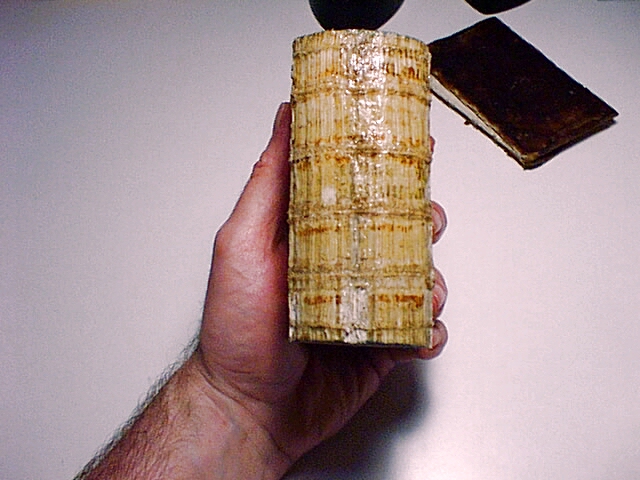
Cleaning of spine. Note endbands next
to book. They had been sewn onto vellum slips, and laced onto the book
separately, not as part of the structure, as is sometime found. Once
removed, I discovered they were in good condition and decided to save and reuse
them. |
 |
| Cleaning of spine. |
|
 |
 |
 |
 |
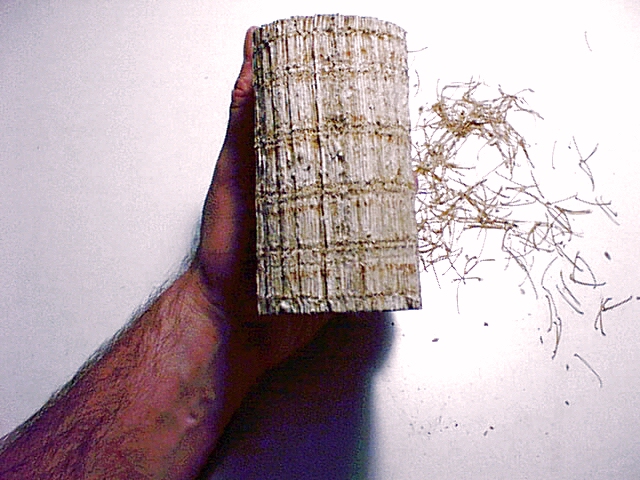
| Cords cut off spine; application of wheatpaste as a
poultice in order to remove original adhesive. |
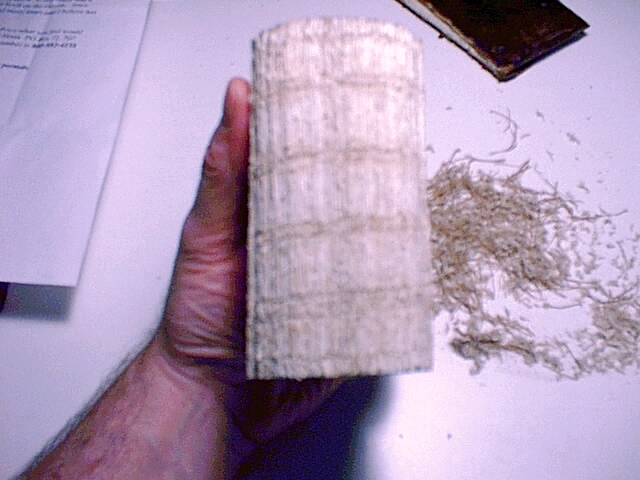
Loose signatures gathered together, once the
remaining sewing structure has been removed. Note bits of linen thread from
the sewing structure next to book. |
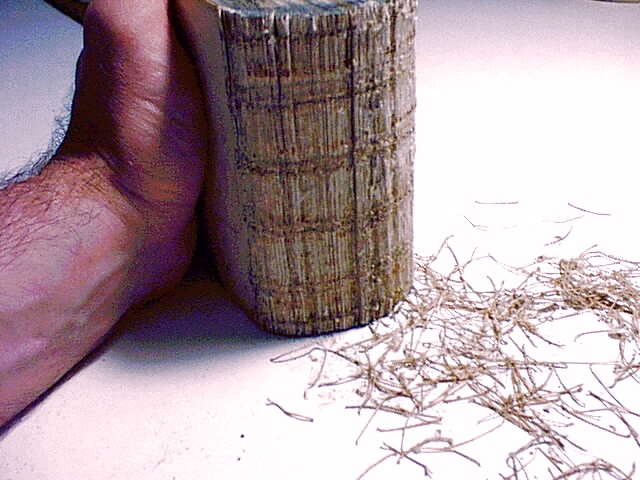
Loose signatures gathered together after final careful
cleaning of the spine of each signature. Note the pile of scrapings.
|
| |
 |
 |
|
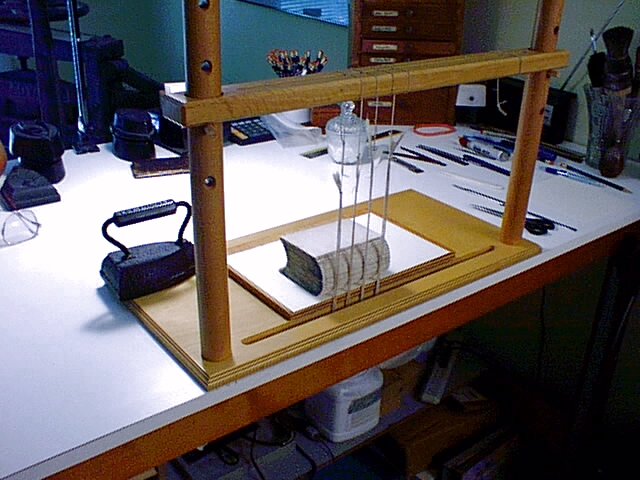
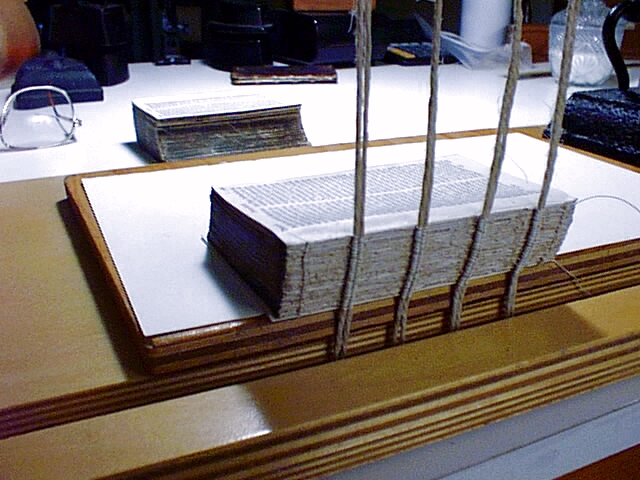
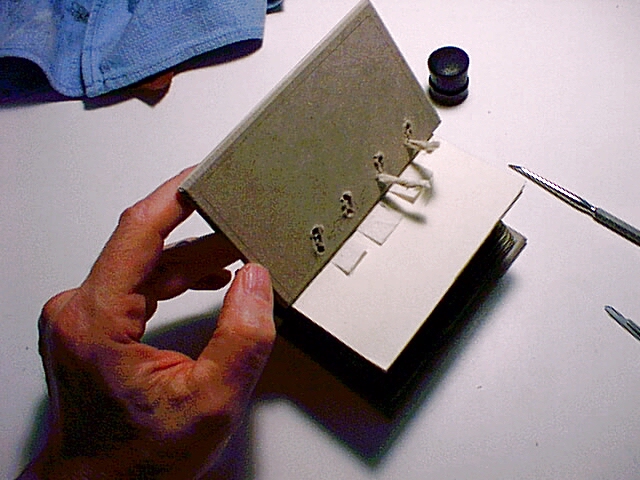
| Setting up the book on the sewing frame,
positioning the cords onto which the signatures will be sewn. |
 |
 |
 |
 |
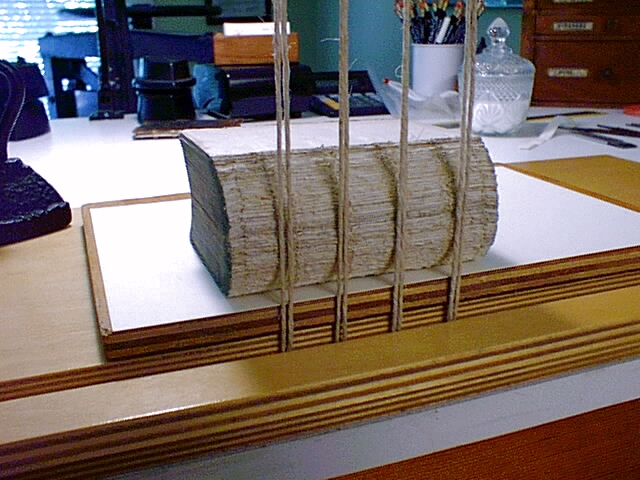
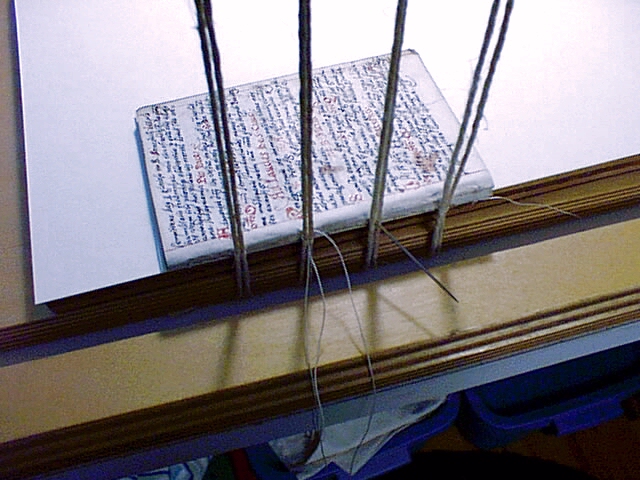
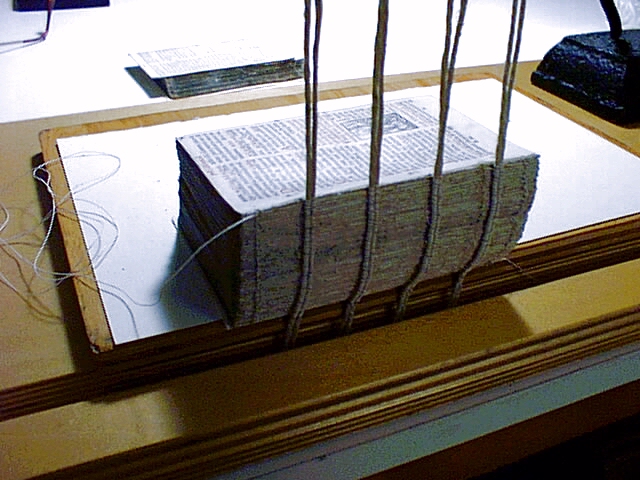
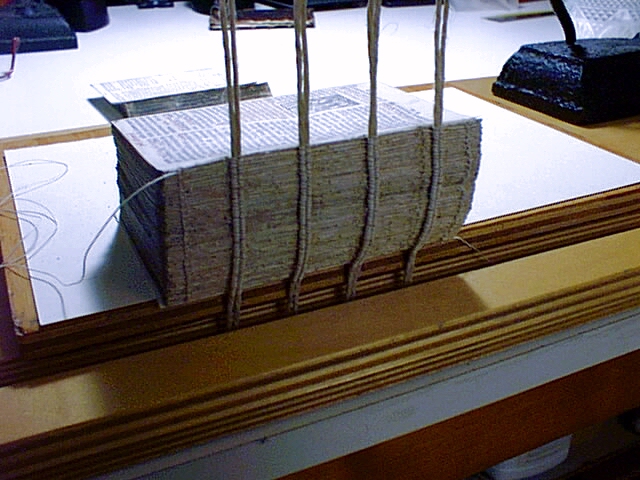
| Sewing the signatures onto the cords using
linen thread. This is called a "flexible" binding, because the cords
function in such a way as to allow good movement of the pages. |
 |
 |
 |
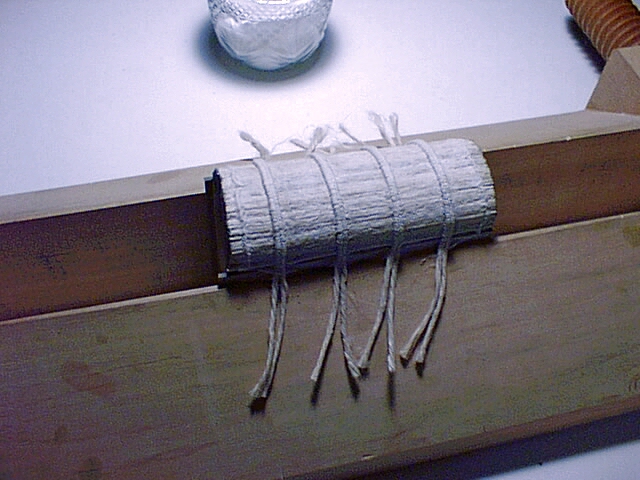
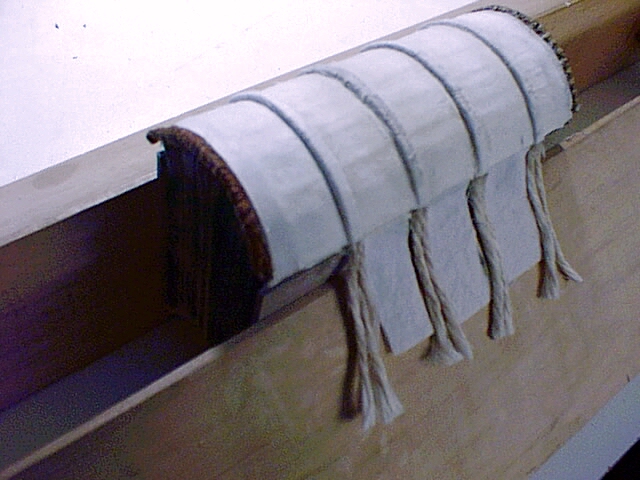
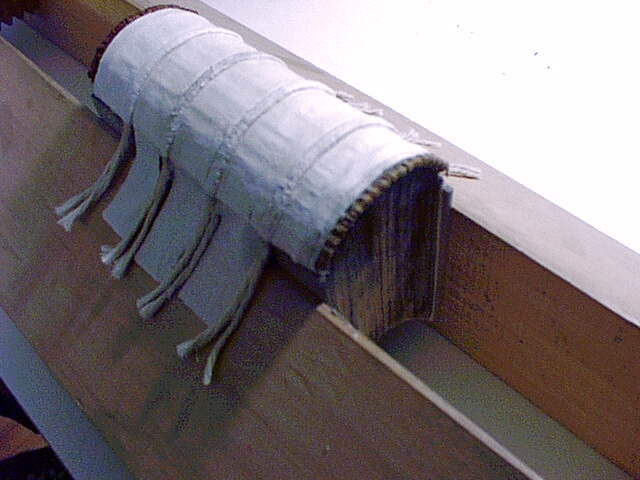
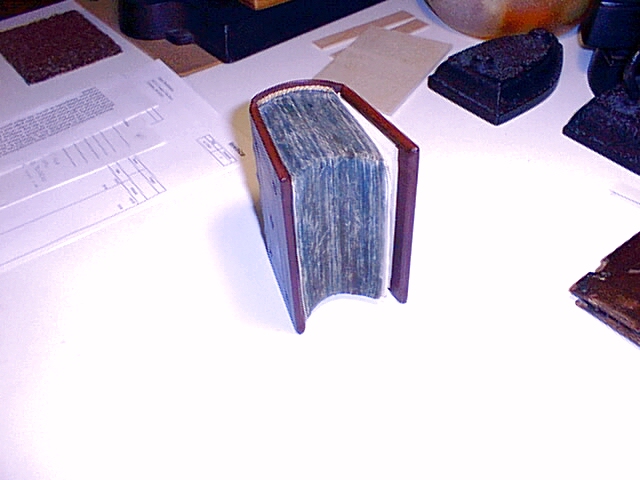
| Book positioned in laying press, spine
up. Spine covered in light coating of adhesive, then a thin sheet of Kozo
tissue paper applied. |
Additional liners of paper and hinge-cloth
applied. Note that the original endbands have been remounted. |
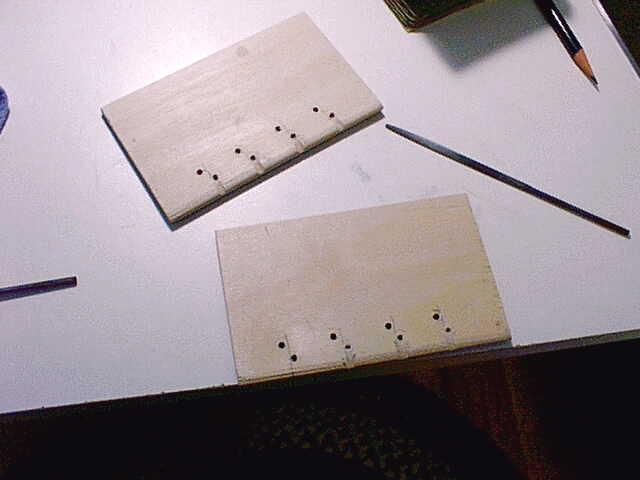
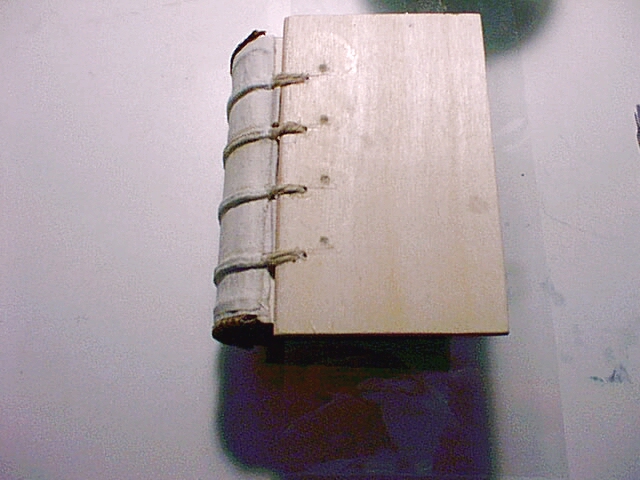
| Preparation of the new
covers. These are micro-plywood with an inner liner of Daveyboard to achieve the
proper thickness and stability. They have been beveled on the inside edges and
rounded at the spine. Sets of holes are drilled for each set of cords, and a small
channel carved into the spine edge to accommodate the cords. |
 |
 |
 |
 |
 |
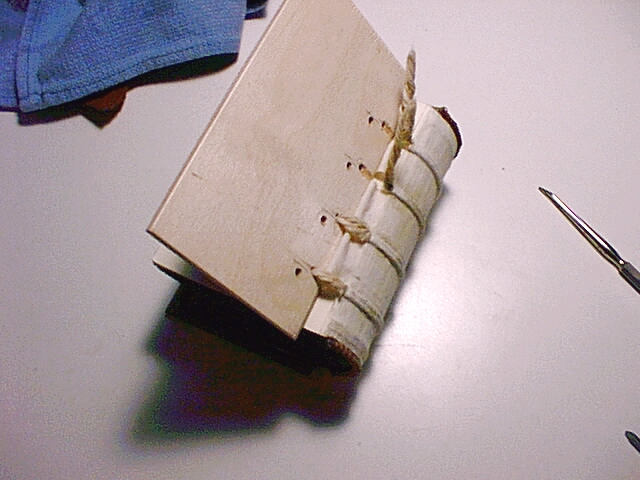
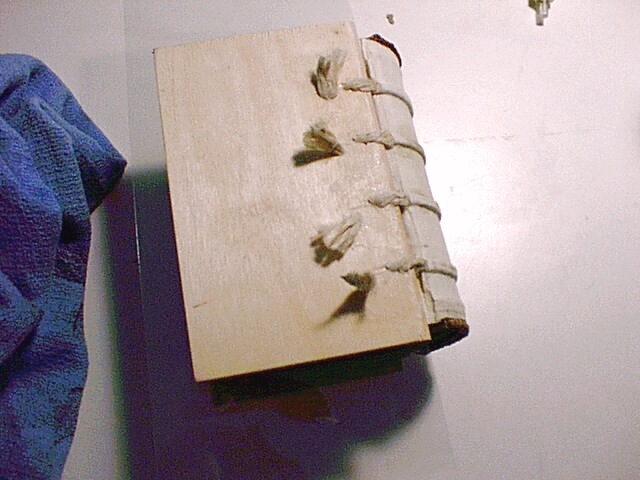
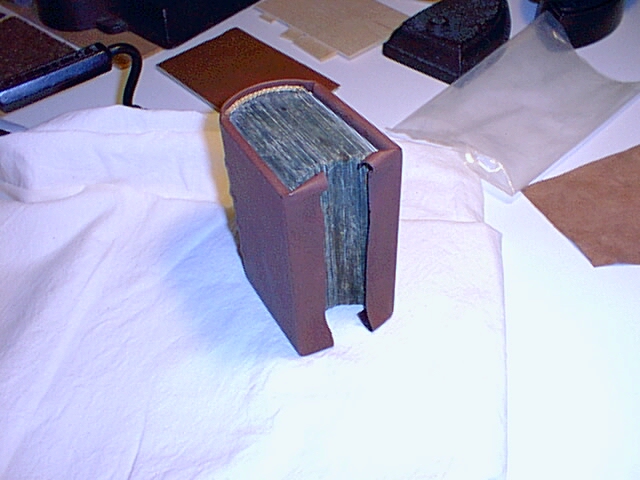
| Lacing the cover boards onto the book. |
Finished with lacing. Once done, remaining cord
material is cut flush with the board, then adhesive is forced into each set of
holes to help lock the cord in place. |
 |
 |
 |
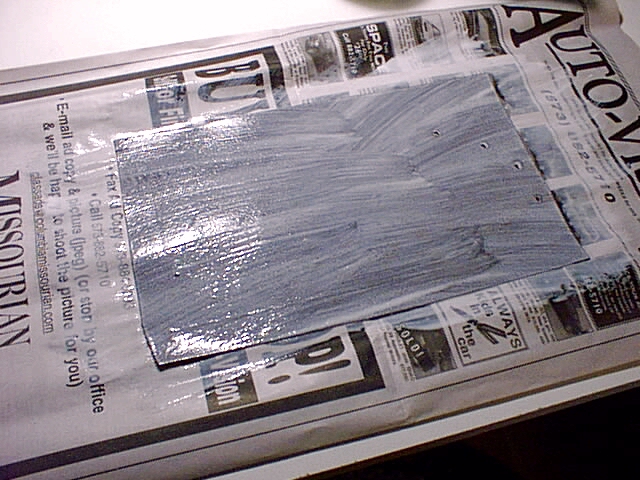
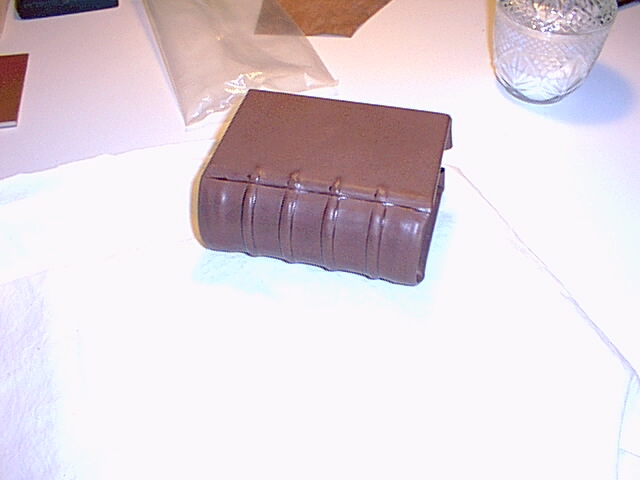
| Pasting out the leather for the cover. |
Leather mounted onto cover boards, tucked
into spine behind endbands. Initial blind tooling at cords on spine to
help "set" the shape of the leather. |
 |
 |
 |
 |
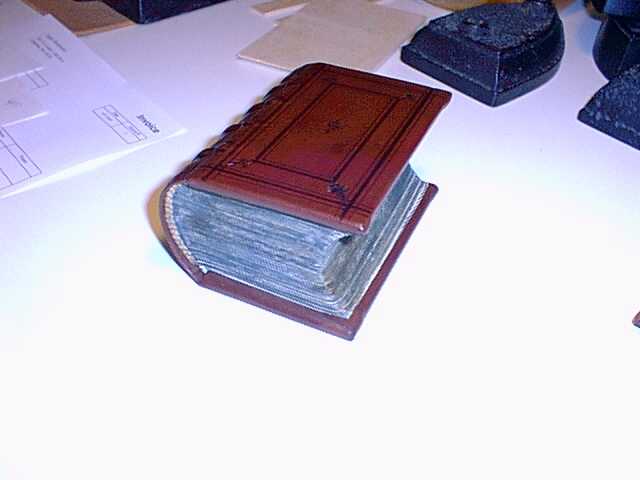
| Finished product. |